How To Set Up Your Own Home Recording Studio
17 Mar 2016
Independent musicians now dominate the music industry, the data shows. The independent segment’s market share grew from 25.8 to 34.5 percent between 2007 and 2013, surpassing previous industry leader Universal, according to Nielsen SoundScan. By 2020, independent musicians will outnumber label-employed musicians by 1,830 to 190, the Bureau of Labor Statistics projects. Today’s technology makes this the best time in history to be an independent musician. But becoming a successful artist can require overcoming a number of startup barriers, including setting up a home recording studio. Here are a few tips for setting up and maintaining your home studio.
Setting up a Recording Room
Start by picking the right room. Choose the biggest room available, so you’ll have enough space for your band and equipment. Select a room with hard flooring such as concrete, tile, or hardwood. Avoid rooms with poor acoustical features such as small size, low ceilings, or parallel walls made of drywall.
Make sure your room won’t pick up ambient noise. This may require some soundproofing. Basic soundproofing techniques include adding mass loaded vinyl, adding damping compound between panels, decoupling sound vibrations with dense rubber, and filling air gaps with acoustical caulk, foam gaskets, or automatic door buttons.
Once you’re selected a room, clear everything off the floor, take everything off the walls, and remove anything that vibrates.
The next step is to acoustically treat your room. To do this the best practice is to set up bass traps, acoustic panels, and filters. Many beginners skip these steps, but they make a big difference. Adding reflection filters is also recommended.
The last step is arranging space for your gear. You should have one part of the room with a desk that serves as a mixing area and a second part that serves as a recording area.
Recording Equipment
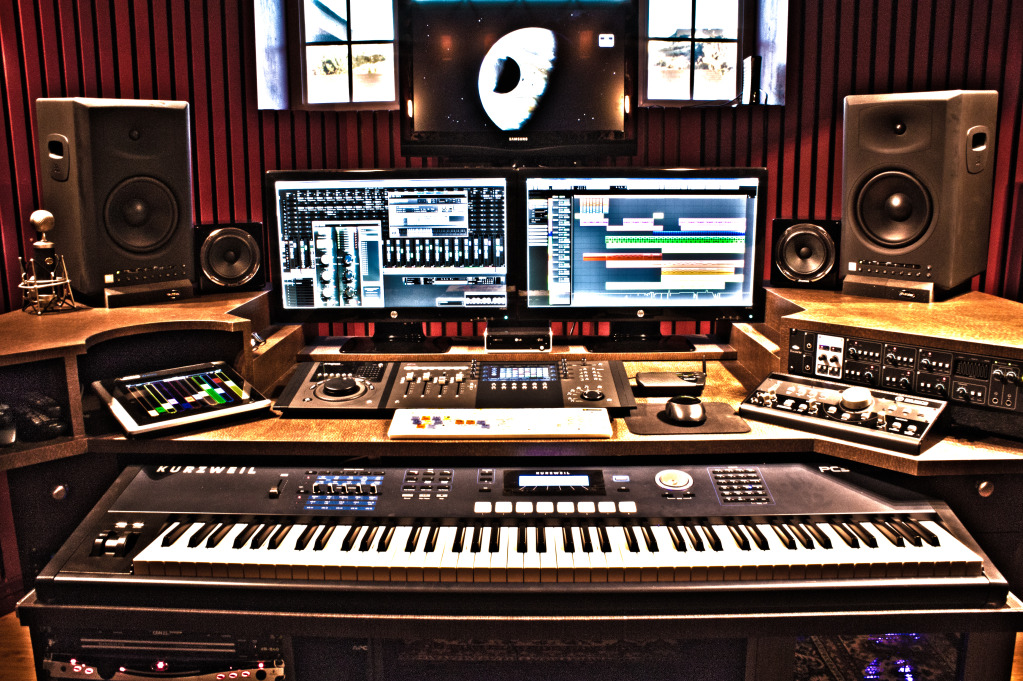
Once you’ve got your room arranged, you can start moving your recording equipment in. You need five basic types of equipment:
- Most artists will be doing computer recording, so the most essential item you need is a good computer with sufficient memory. You can supplement your computer’s internal memory with an external drive or tower.
- Next, you need digital audio workstation (DAW) software compatible with the type of computer you have. DAW solutions range from freeware such as Audacity to premium options such as Ableton Live 9. ProducerSpot.com provides a review of some of today’s best DAW solutions.
- You also need an audio interface. With some DAW solutions, these come together in a bundle. Unless you need more than two channels to record drums, a simple two-channel USB audio interface is generally sufficient.
- Next, you need a good studio microphone. Microphones come in three main varieties: dynamic, condenser, and ribbon, of which dynamic and condenser are the most popular options. Dynamic microphones pick up what’s directly in front of them and work best for live stage settings. Condenser microphones use a different technology that converts audio into electricity for superior detail and realism, making them ideal for studio use. You’ll also need a microphone stand.
- Finally, you need studio headphones or monitors so you can listen to your recordings and mixes. Headphones are less expensive, so they can be a good option if your budget is tight, but studio monitors are better if you can afford them. Make sure you place your monitors in the correct positions for best recording quality.
Electrical Equipment
Your home recording studio will also require some essential electrical equipment:
- As your studio grows, you will need an increasing number of cables, but to start off, you will need a long XLR cable for your microphone and two short XLR cables for your monitors.
- Snake cables enable you to combine several cables into one big one.
- A power conditioner will also help you to consolidate your cables, while also providing surge protection, voltage regulation, and noise filtration.
- An uninterruptible power supply (UPS) will help protect you from losing your work in the event of a computer malfunction or power outage.
Finally, consider getting a home warranty plan that covers electrical systems, so you aren’t faced with a high repair bill in the event something goes wrong with your electric.
This article has been republished with permission.
Find the original article, written by Cherie Nelson, here.